You may have heard that percolate is the worst method of brewing coffee. Don’t rush into conclusions until you’ve tried it for yourself.
Talking about coffee really depends on endless tastes and preferences. Although the method of brewing has a lot to do with the quality of the coffee you get, choosing the best coffee beans will have more effect.
When viewed from another point of view, the stovetop percolator method will give you a bit of a retro feel, and take you out of your comfort zone a little. This is sometimes you need to get rid of your boring routine.
Contents
What Is A Coffee Percolator
Percolator coffee is a particular type of teapot used to brew coffee by the percolation method. Percolation is a method of brewing coffee by continuously boiling or steaming the drink through the grounds until the required strength is reached.
Physically, the shape of the percolator is very similar to a kettle, the difference is that there is a steam-powered vacuum system in it. This is what creates the strong, bitter taste of the drink that is free of impurities.
How Does It Work To Percolate The Coffee ?
The way of brewing Percolator coffee is like no other. The word “seep” itself means the process of a fluid gradually flowing through a permeable substance.
Percolator coffee works by utilizing the natural bubble motion generated by boiling water at the bottom of the pot. Inside the percolator is a hollow pump rod tube that ensures concentrations of these bubbles gather together, then forces the water to move upward through the tube.
Through this tube, water will be sprayed over the spreader cover, so that the water is thoroughly spread over the ground coffee and saturates it.
After that the water will drip back down to the bottom of the pot and boil again. This cycle will continue to rewind and repeat for 8-10 minutes to produce a saturated, strong & bitter drink.
What Does Percolation Do To The Coffee ?
When you percolate the coffee, you may smell a strong coffee aroma while brewing the coffee grounds that are in the coffee room. Through the percolation process, the negative part of the coffee beans will be lost, resulting in a strong pure coffee.
Because the entire percolation process repeats itself several times, all the coffee grounds inside the percolator will be fully brewed, giving you a strong coffee taste throughout the pot.
Reason To Percolate The Coffee
The main reason why many people dislike using percolator is the dry, bitter coffee they are used to producing. But from our point of view, as true coffee lovers, we should appreciate a wider variety of aromas and flavors more.
You also can’t call yourself a true coffee expert unless you are willing to try different methods and types of coffee, right? So for us it is better to give the percolators the opportunity to show their existence.
Whether you like it or not, what exactly makes percolator stove coffee so bitter and dry?
To create steam pressure when brewing coffee, you need high heat. The resulting high heat has the potential to give off a metallic taste.
The hallmark of this brewing method also plays a role in giving the coffee taste and texture. The brewed coffee is then reheated and repeated several times during the process, saturating the coffee.
How To Percolate Coffee With A Stovetop Percolator
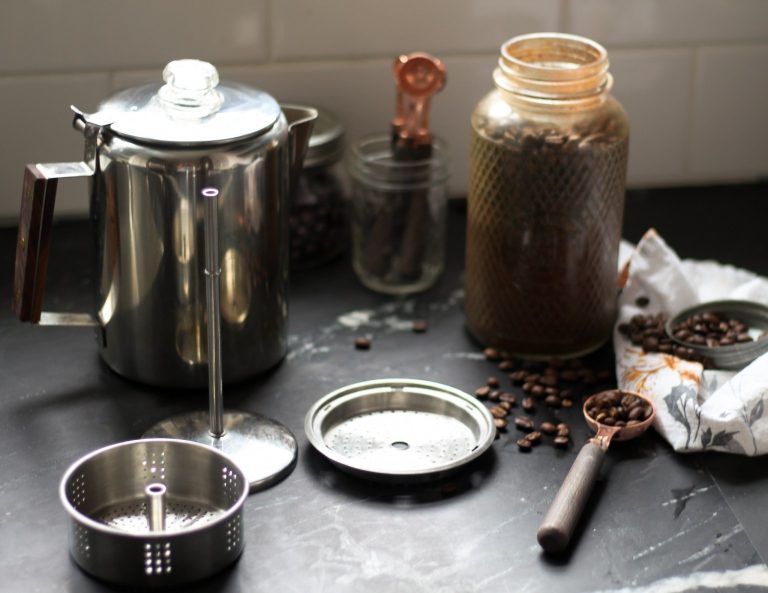
Equipment
- Stovetop Percolator
- Coffee Filter
- Coffee grinder
- Spoon for measuring the coffee ground
- Your favorite mug
Ingredients
- Cold water
- Whole coffee beans of your choice ( as general rule is 1 T coarse coffee grounds to every 8oz water For a full 9 cup pot of coffee, add about ⅓ cup grounds)
Instructions
1. Measure Your Coffee And Water
Measure coffee and water accurately to get the right taste and balance, this also aims to avoid over-boiling. Based on our research, we would venture to recommend 30 grams (about 1 ounce) of whole beans for every 500 grams (about 17 ounces) of water to start with.
If you don’t like strong, bitter coffee, you can try reducing the amount of coffee and increasing the water for a smoother taste.
2. Grind The Coffee Beans
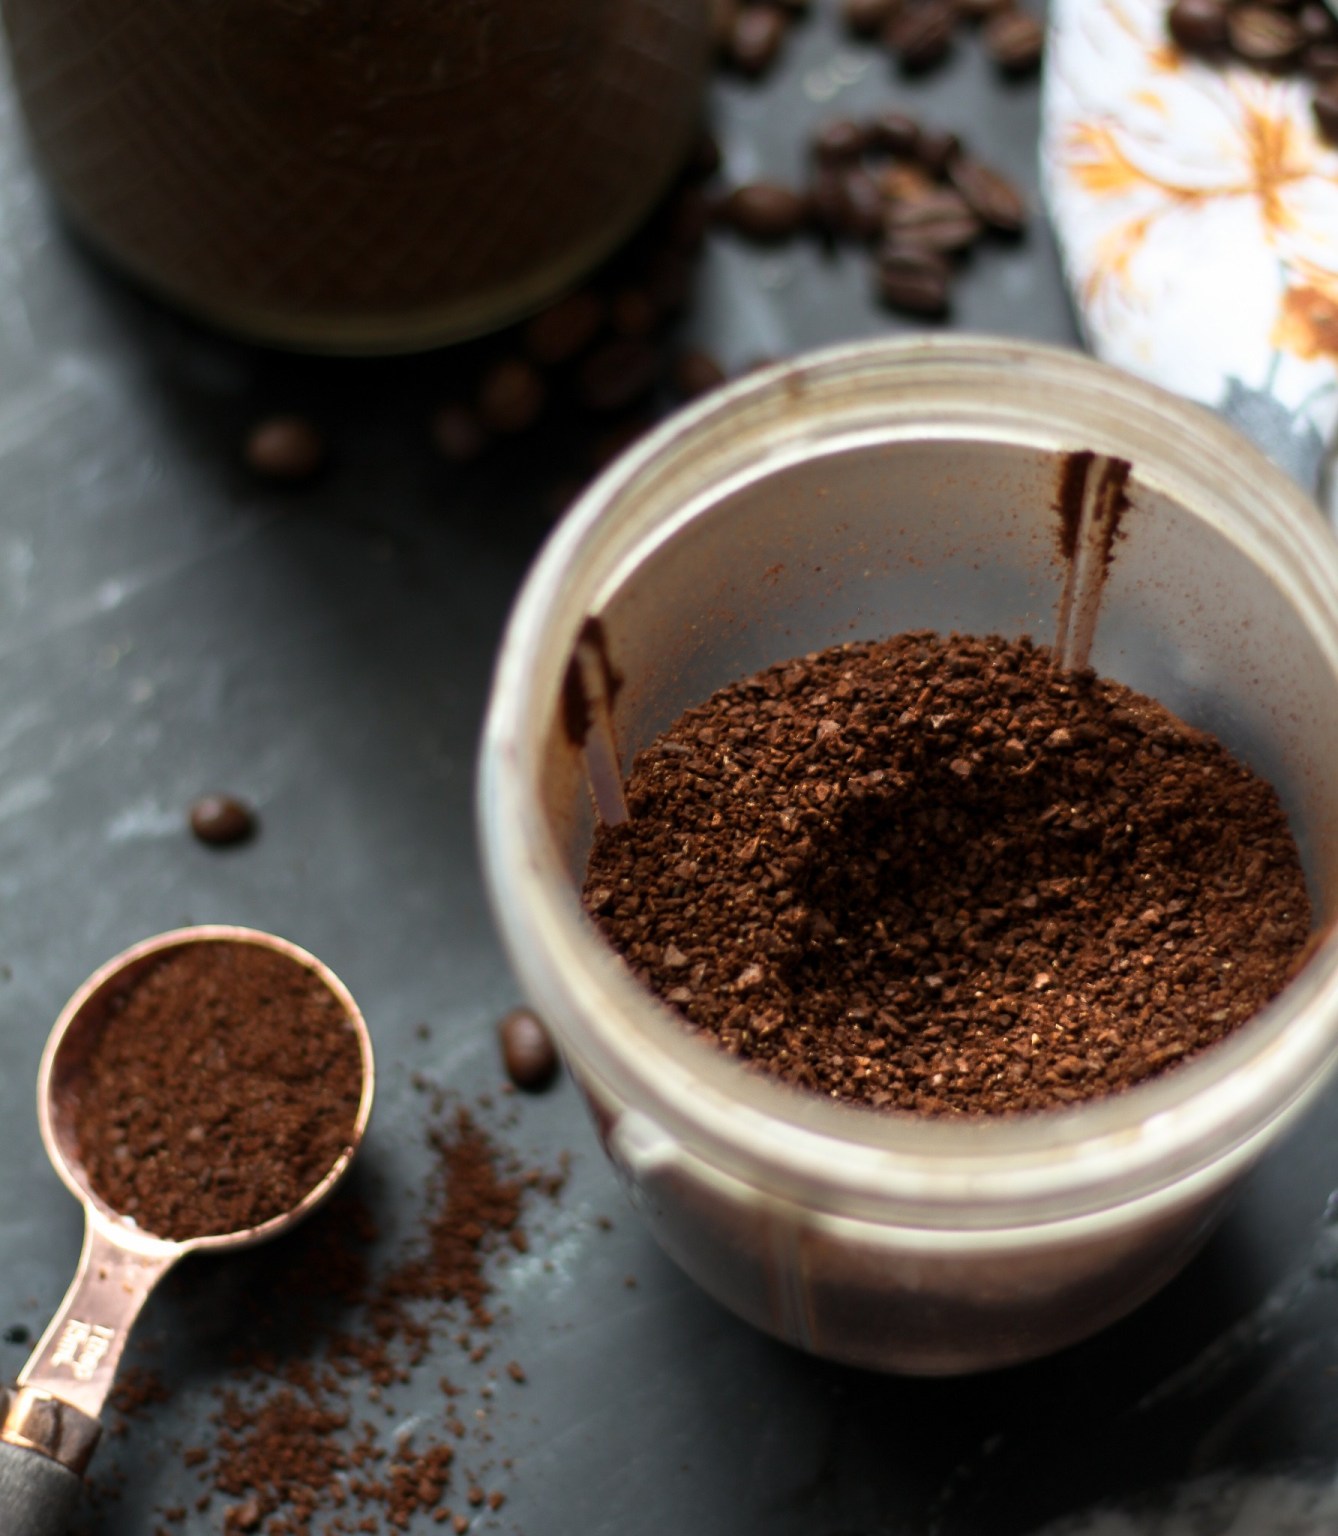
For this section we recommend grinding the coffee to produce a more even and moderately coarse ground coffee. The reason is that this is what works best in a stove percolator.
If it’s too small, and you’ll get more of a bitter taste in your drink, plus your coffee grounds will just dissolve in your coffee. Conversely, if it’s too big you will waste the good taste of coffee because it is not fully brewed.
3. Fill The Percolator
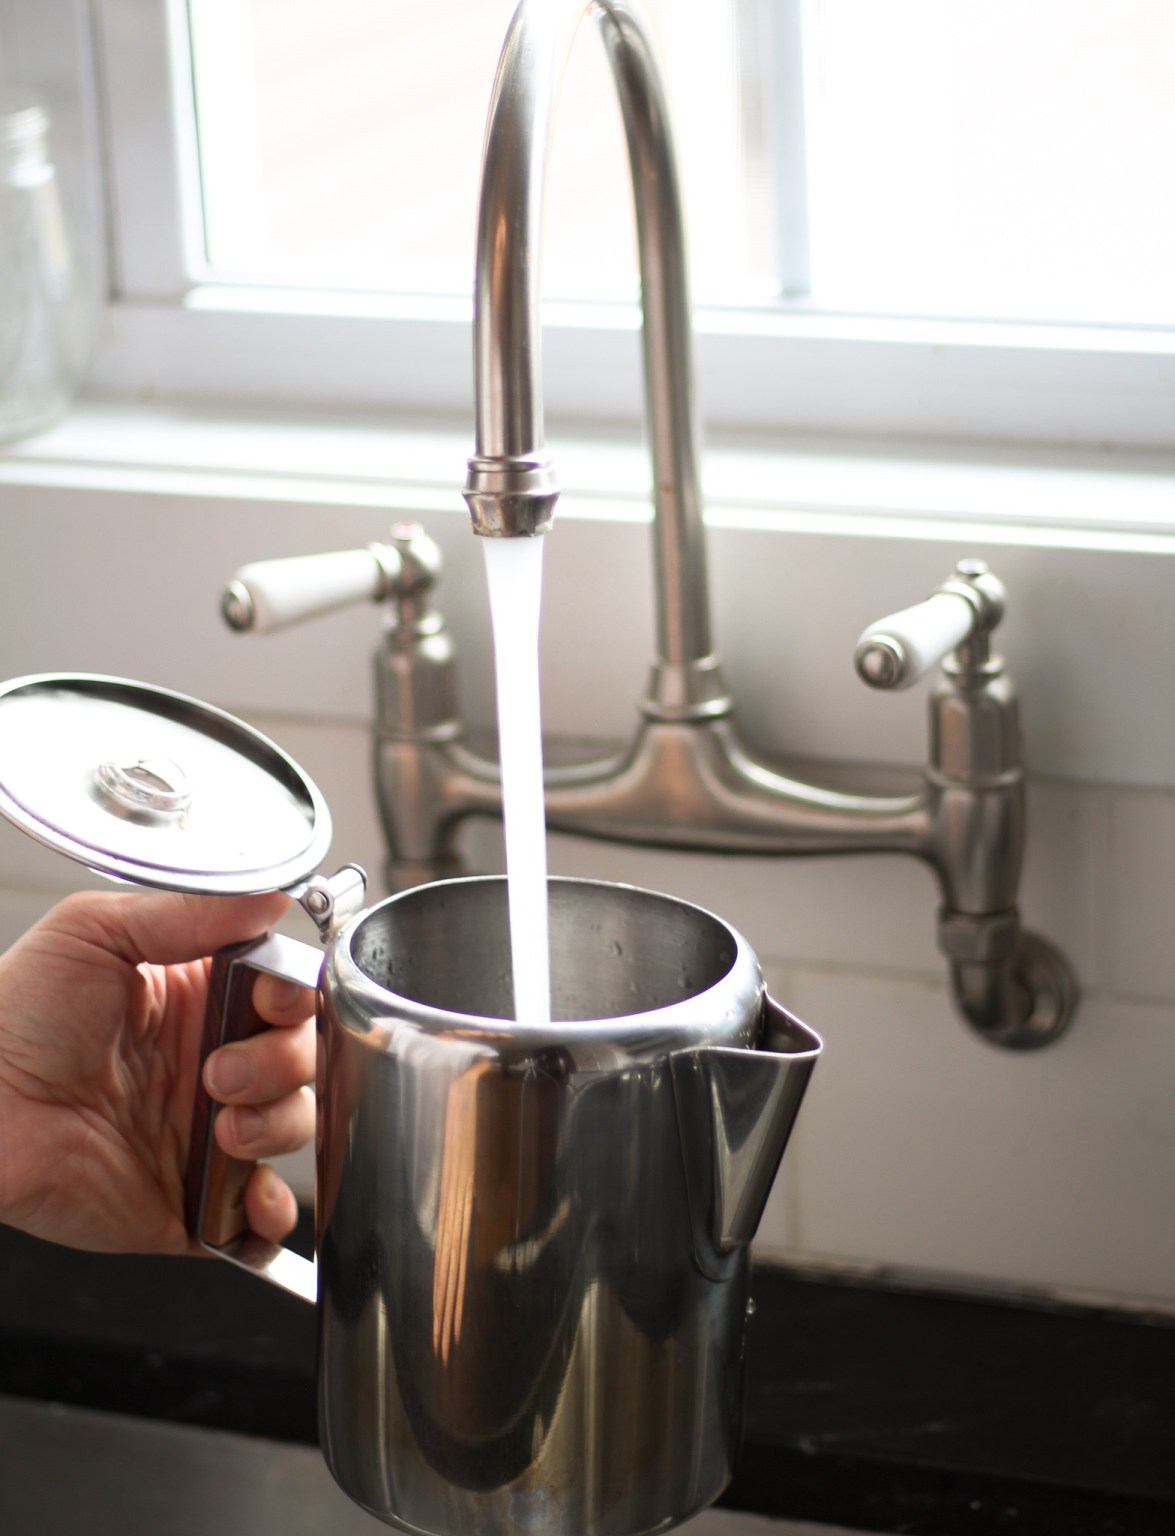
Fill your percolator reservoir with cold water, an appropriate amount based on the ratio of the amount of your coffee ground. Your main goal with using a percolator is to let the water heat up slowly, so using cold water is helpful at first.
4. Assemble Your Stovetop Percolator
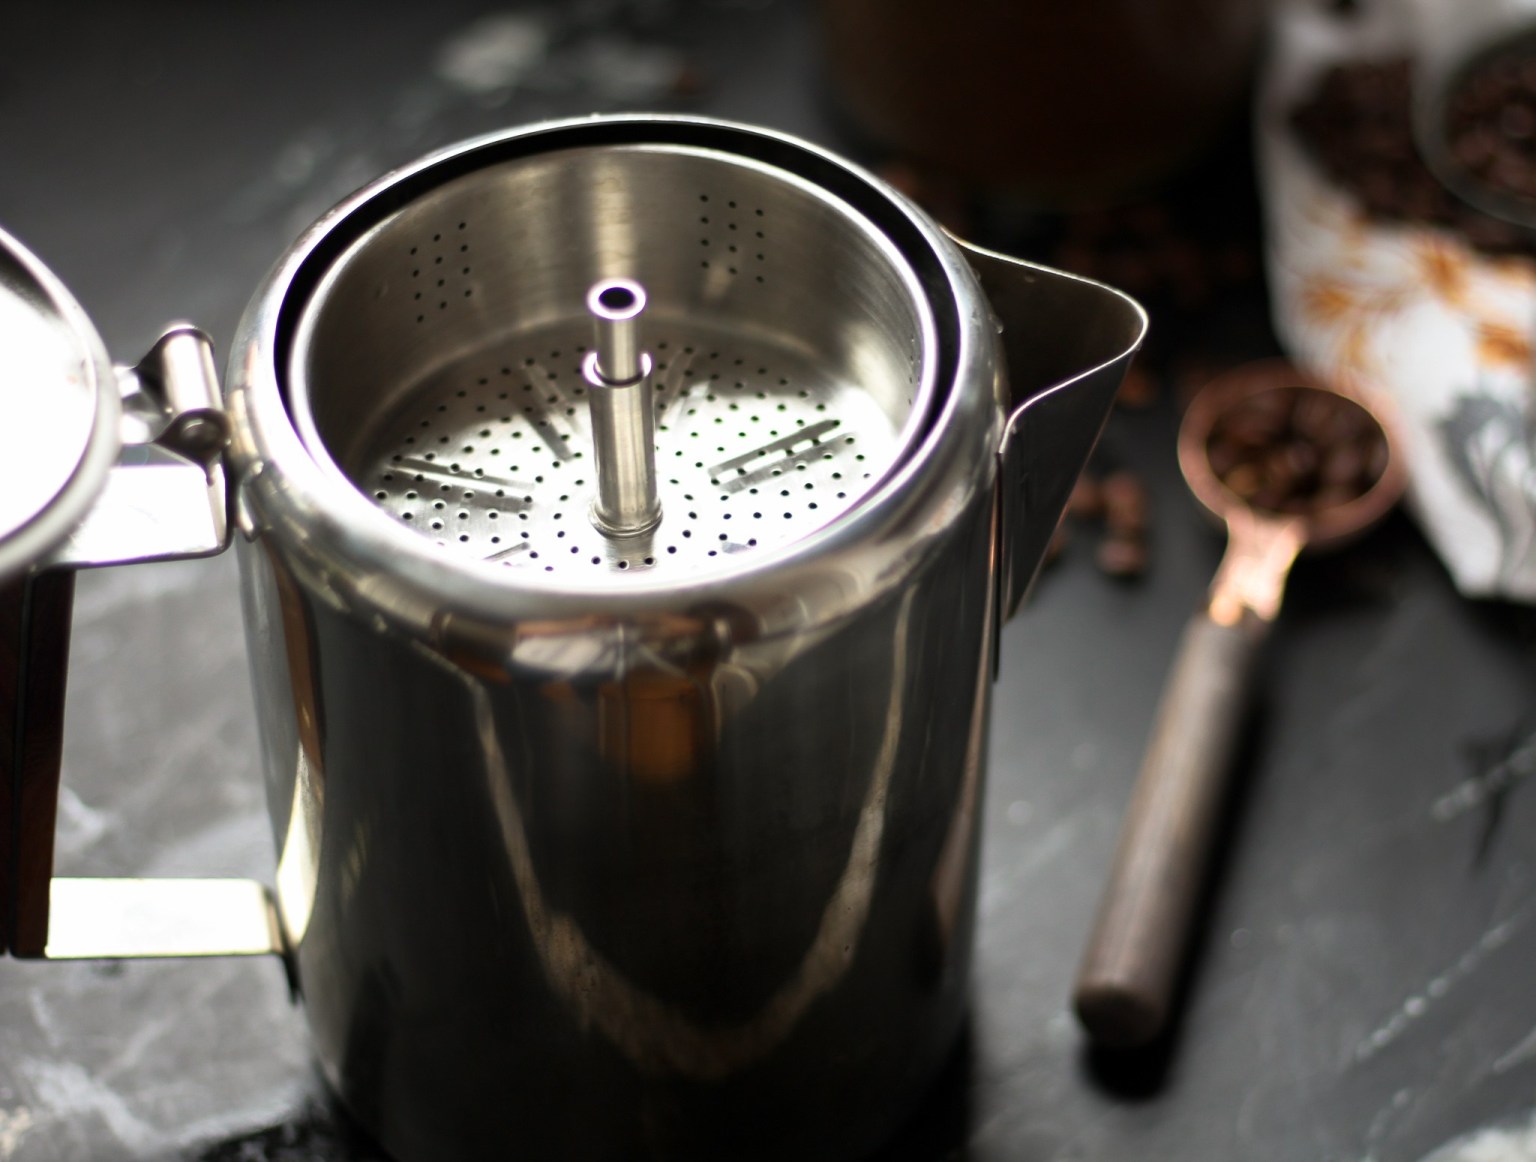
Make sure to assemble the stem and insert the basket into your percolator properly.
If they are still disassembled, first secure the stems in the pot filled with water, then secure the coffee basket over the stems. After that, Place a filter in the coffee basket
If you don’t understand, you can refer to the manufacturer’s manual or do a quick internet search for your percolator mode.
5. Add The Coffee Grounds To The Basket
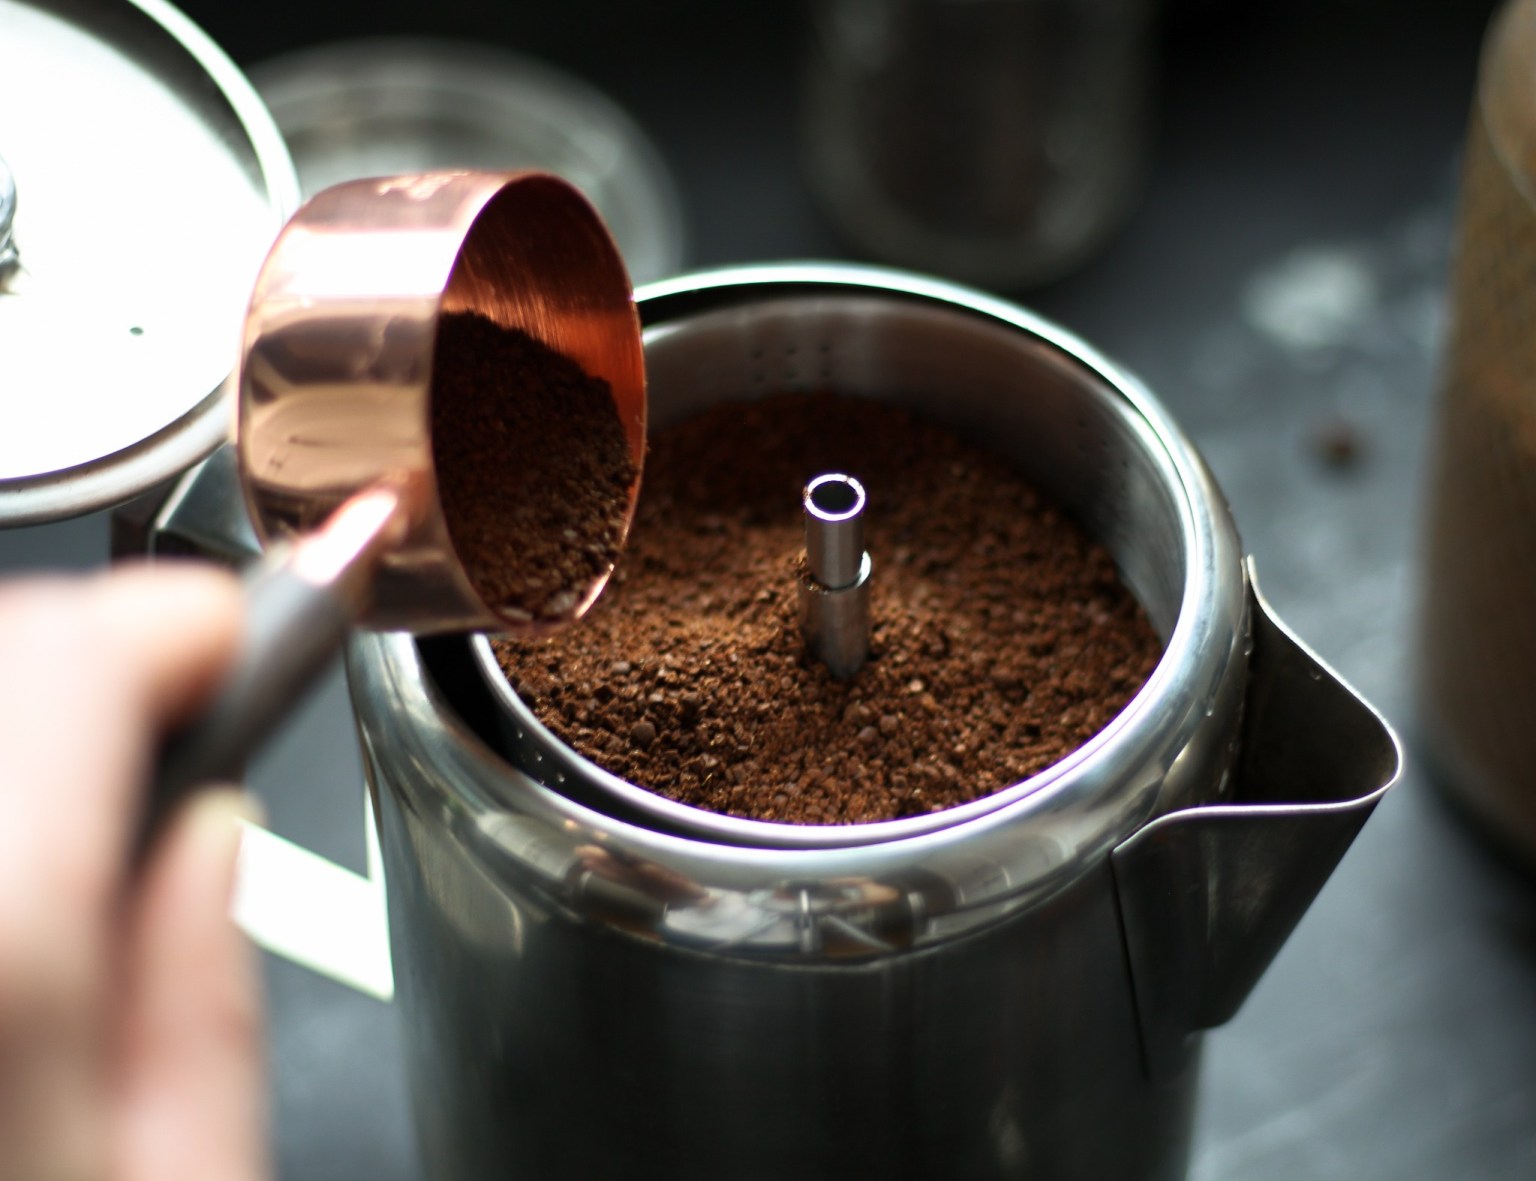
Fill a coffee basket with your coarse coffee grounds. Be sure to double check your measurements. This is important for you to avoid too full of space when brewing or throwing coffee out to spill.
If your percolator model has a basket lid cover, remember to replace it before closing the percolator.
6. Slowly Heat!
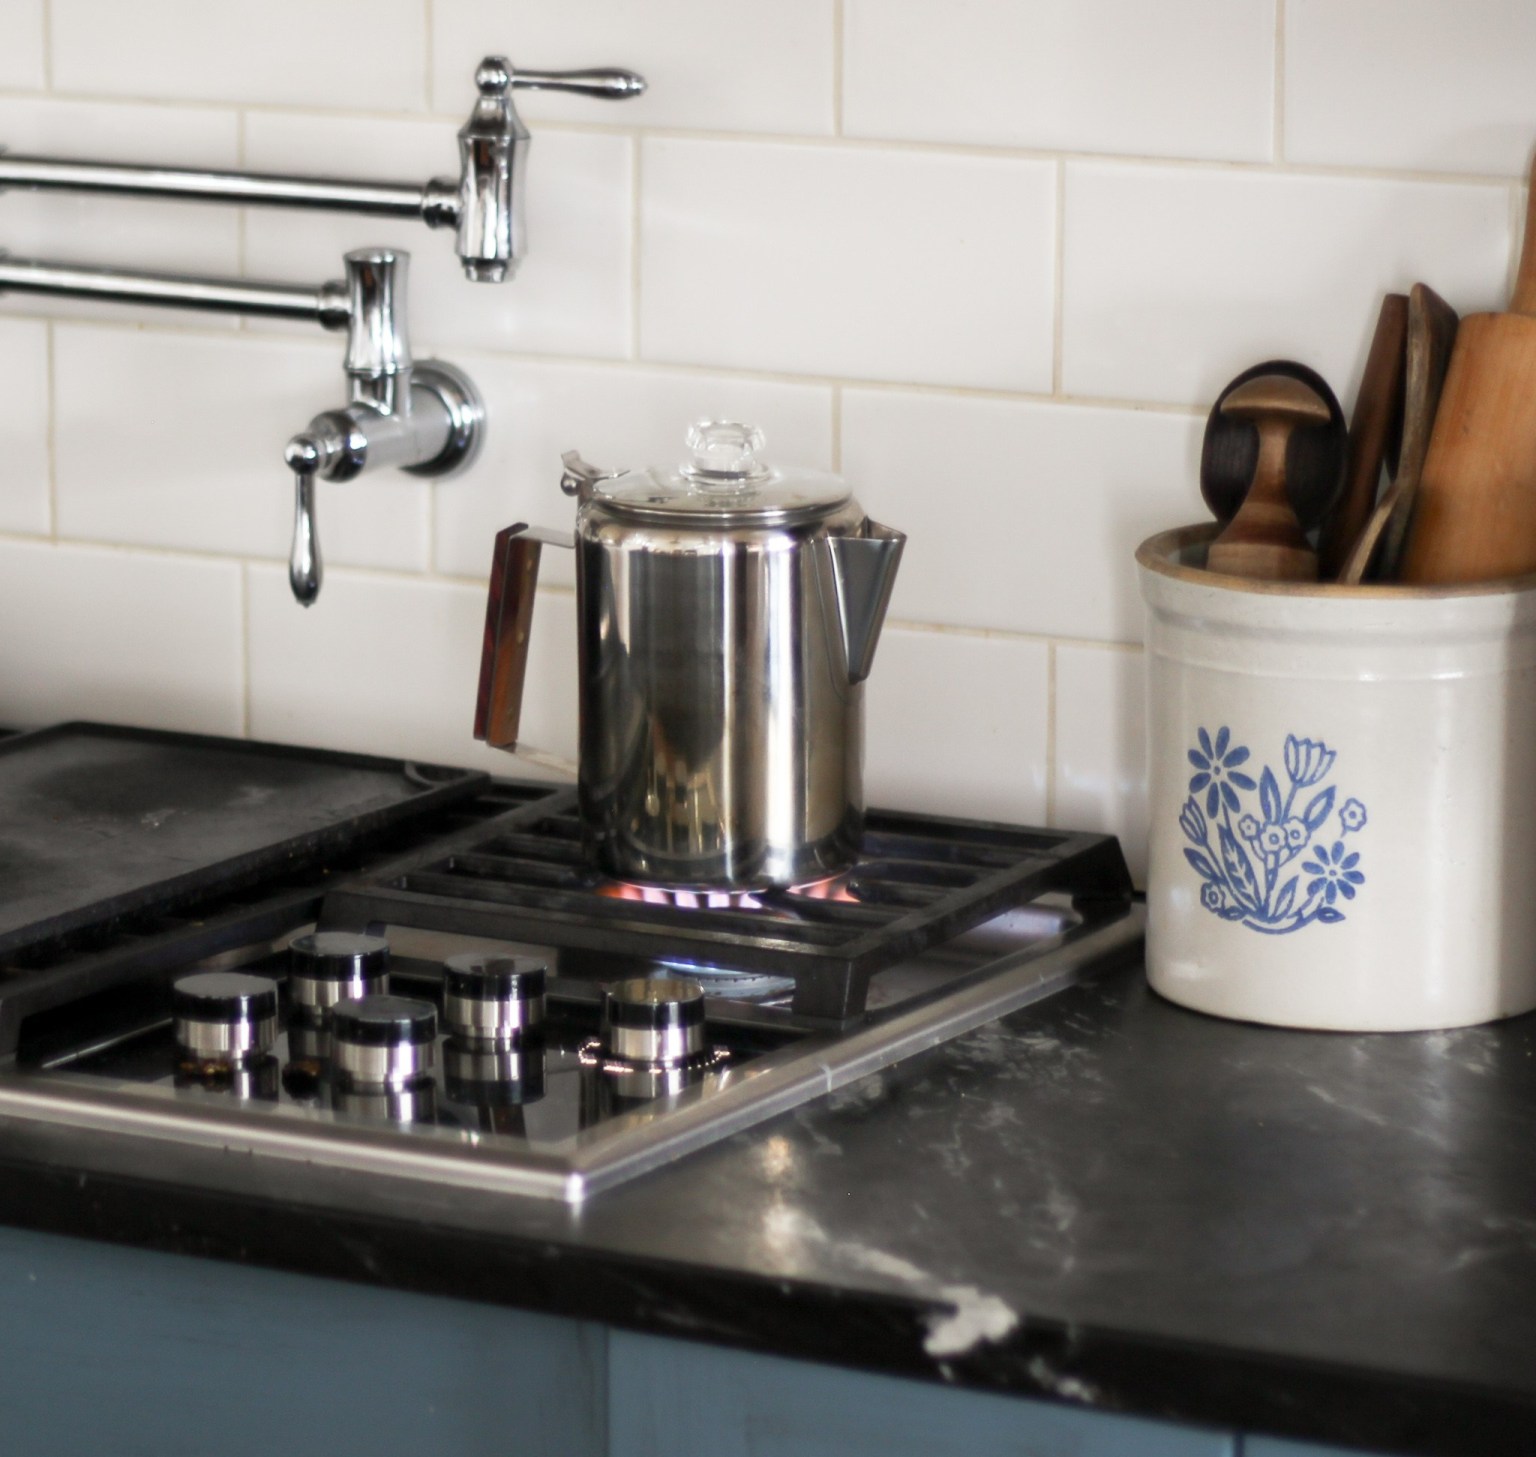
Place your percolator on the stove then turn it on low or medium heat.
The trick to making great percolator coffee is to slow down the heating process until clear bubbles begin to rise and show through the knobs, preventing them from boiling.
7. Watch It
Most percolator models have a clear glass or plastic knob on the top side. So it’s no surprise that many people say that a watched pot never boils, because if your water is almost boiling, you’ll see it bubbling up to the knob.
This means that the water is hot enough to steam coffee, all you have to do is maintain it happening for a few seconds.
If the bubbles flow more constantly than the occasional burst, Then, you will need to lower the heat. Water that is too hot or even boiling can make your coffee very bitter.
Conversely, if the bubbles don’t occur often enough, it means your water is too cold. Then, simply turn up the heat.
As a side note, during the brewing process, you will see the water changed from clear to coffee-colored. Meaning, it’s working fine.
8. Set Your Timer
Once your water has bubbled enough at regular intervals, it is time to set the timer for up to ten minutes. We purposely suggest ten minutes on your first try so you can experience the authentic taste of old-fashioned stove percolator coffee.
Actually, how long does it take to perclate your coffee is depend at your preference. Since, the longer you percolate the coffee, the stronger it will be. Remember to keep an eye on the bubbling water, don’t let it boil.
9. Remove It from the Heat
After ten minutes or the timer runs out, turn off the heat and slowly remove your percolator from the element. Be sure to use oven mittens or a kitchen towel to protect your hands when handling the vessel, as it will be very hot.
10. Remove the Coffee Grounds
If you directly pour freshly percolated coffee into your mug, you will find the mug contain more grounds than coffee. For that, remove the basket and throw away your used grounds before you pour the freshly percolated coffee into your mug.
If that’s not enough, you can use a fine mesh strainer to filter the coffee as you pour it into the mug.
11. Enjoy
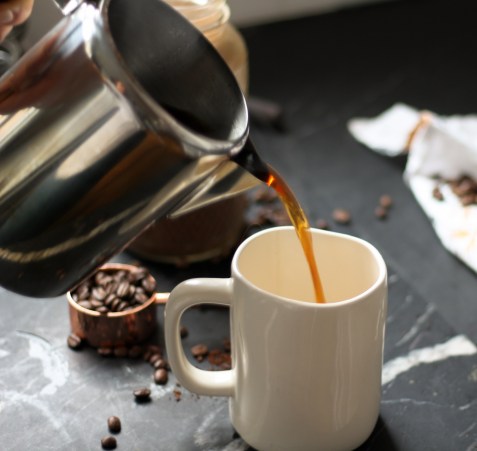
Are you ready to drink the first cup? pour yourself a cup of hot, freshly percolated coffee. Now you have had your pleasure.