If you notice that your coffee machine is producing unpleasant tasting coffee, it is a signal that it is time for you to clean your coffee machine. In this post, we provide you with a detailed guide on how to clean Keurig 2.0 and how to descale Keurig 2.0.
Because many people complain about the bad taste of coffee and after research, it turns out that the main cause is just because they rarely clean their coffee maker.
Over time, even a Keurig 2.0 coffee maker can collect hard water buildup, mold, bacteria, or clogging. Also, they can build up a buildup of oil and make the coffee taste bitter or burnt. Cleaning Keurig 2.0 will make the resulting coffee taste to its fullest.
Contents
A Guide to Clean The Keurig 2.0
This guide applies to those of you who clean Keurig 2.0 coffee machines regularly. Why is that? because if you frequently clean your machine, you may not have to go through all the steps in this guide. On the other hand, if you haven’t cleaned it in a very long time, it may take you more effort than this guide covers.
What you need
- Water (distilled water is not recommended)
- Mild soap
- A dry and clean cloth
- A toothbrush or paper towels
- A paper clip
Instructions
1. Unplug the machine
It’s a simple thing, but it is an important step before you start cleaning your coffee machine. Just turn off the machine and unplug the machine from the electric socket.
2. Remove and wash the removable parts
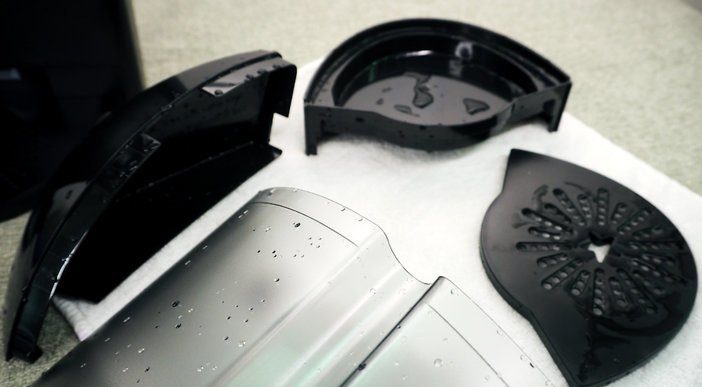
Remove the water reservoir and lid, the drip tray, and also the K-cup holder. Wash these pieces with mild detergent. Then rinse and left it and dry. Check the bottom valve of the reservoir and on the machine, make sure they are nice and clean too.
3. Clean the exit needles
To clean the exit needles properly, you must take out the K-cup holder and the diffuser.
Firstly, press the buttons on the k cup holder to separate the holder and housing. Then, remove debris and grounds from the bottom exit needle using a paper clip. Next, carefully wash the holder since the needle is sharp.
Don’t forget to clean any oils or coffee grounds on the housing and the diffuser by washing them
4. Clean the unit
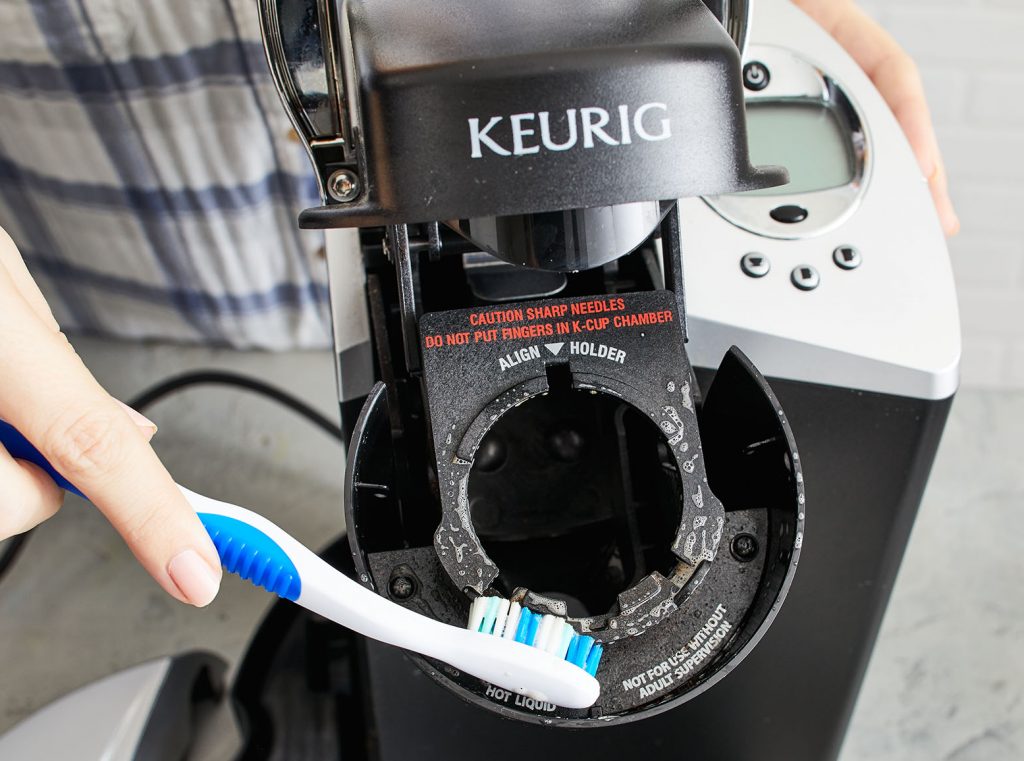
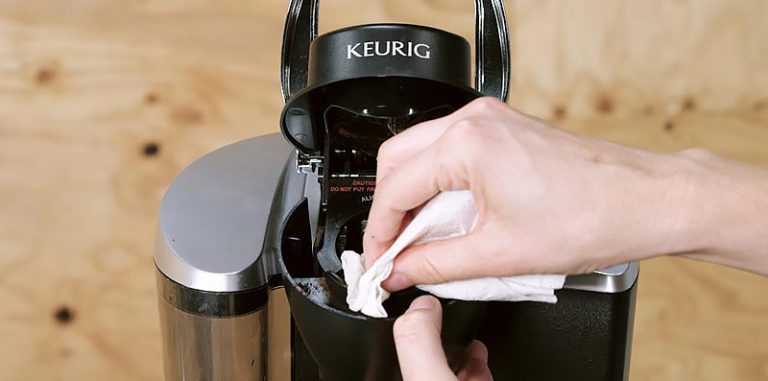
By using a toothbrush, clean out any dirt or left coffee grounds in the unit. Focus on the top exit needle and handle, the dirt usually left there.
5. Wipe machine surface
Wipe the surface of the machine with a damp cloth (you can also use a clean and dry cloth). Assemble all the washed removable parts then plug in the machine.
6. Rinse the reservoir
Fill the reservoir tank with freshwater then rinse it with running one or two rinse cycles.
7. Use as usual
Finally, you’ve done general cleaning on your machine. Now you are ready to brew your usual cup of coffee.
How Often Should You Clean Your Keurig 2.0?
It is important to know how often you clean your Keurig 2.0 coffee machine. This determines whether you can do a quick clean or should clean the entire machine.
1. After Every Use
If you are people who always remember to clean every tool or machine after use it. Just do the same for your coffee machine. If you always clean your Keurig 2.0 every after use it, this makes this job easier and takes a shorter time.
The first to do is throw away any leftover coffee inside the carafe from the previous day. Do not try to drink it because it is no longer fit for drinking and most likely it has a bitter aftertaste.
Then, hand washes the carafe with a mild detergent and a soft sponge to scrub the interior. Do this stage for about 30 seconds. After that, rinse it thoroughly and make sure it has totally clean.
Keeping your carafe always clean will ensure that you can get a fresh brew every time.
2. After a Few Days
The next, if you usually clean the Keurig 2.0 every few days or so, pay attention to check the K-cup holder.
If there are any leftover grounds, gently remove them with a soft sponge. It is important to prevent leftover grounds from mixing with fresh ones.
Otherwise, These leftover grounds can cause a build-up in the needle which can make it clogged.
3. After Two Weeks
Two weeks are likely the right interval to regularly clean your Keurig 2.0 to prolong its life. Almost all of the parts of your coffee machine need to clean if you decide to do this every two weeks.
Firstly, remove the removable parts of the tray and K-cup holder. Gently clean it using a soft sponge and mild detergent, wash and rinse it, then left it to dry.
Secondly, clean the water reservoir with wipe all it surfaces with a cloth soaked in soap. Wash and rinse it, then left it to dry without wiping with a cloth. Because if you wiping it with a cloth, there is a possibility of leaving lint to the reservoir surface that can mix to your next batch of coffee.
As a detailing finish, wipe all the exterior surfaces of the machine with a wet sponge then dry with a soft cloth.
4. After Two Months
After two month usage, its sound likely no longer the time to clean your Keurig 2.0. This more than the cleaning you are needed.
You need to replace the water filter cartridge due to the age of usage. It also applies to any model of Keurig coffee machines. Make sure the filters are work properly and still intact and able to filter out the water from any sediments.
5. After More Than Two Months
Actually, if you want to clean Keurig 2.0 after using it for more than two months, it is a bit late. But better late than never.
The minerals build up that had accumulated in the machine started to become hard. It is time to descale the machine.
How to Descale a Keurig 2.0
Descaling is a process to clean mineral build-up inside your machine. They are usually formed after more than two months of usage, but it is also depending on the mineral content of the water in your area.
Normally, The descaling process should be done every 3 or 4 months. This is important to keeps your machine in a good shape and ensures good-tasting coffee.
What you need
- Water
- Large mug/ bowl
- Keurig descaling solution
- Dump cloth
Instructions
1. Preparation
Before starting the process, first, turn off the brewer and empty the water from the water reservoir. Don’t forget to remove the water filter.
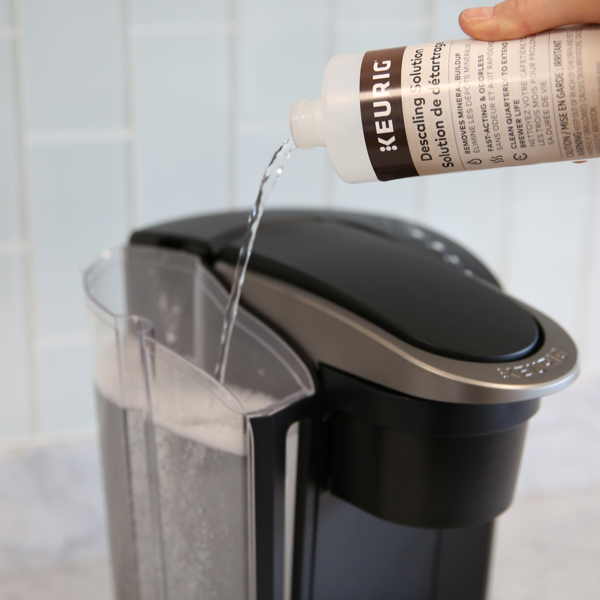
2. Add descaling solution
Pour 1 bottle of Keurig Descaling solution and add about 14 ounces of water into the water reservoir. After that, turn on your brewer to start the descaling rinse.
3. Descaling rinse
Place the large mug/bowl on a drip tray, then start the brew cycle without inserting the K-cup or pods. Wait until the solution is dispensed. Throw out the mug contents after the brewing cycle.
4. Repeat the descaling rinse
Repeat the descaling rinse process until the machine indicates “more water please” or the reservoir almost empty.
Now, let the brewer stand for at least 30 minutes and do not turn it off. After 30 minutes period, remove the reservoir and empty the content the rinse it with fresh water.
5. Fresh Water rinse
After you clean the reservoir, now fill the reservoir with clean water only, don’t forget to place again the large mug or bowl on the drip tray.
Start the brewing process, and repeat the brew cycle step until you empty an entire reservoir. If you want completely rinse the machine, refill again with fresh water only and repeat again the brew cycle. Make sure there’s no residue or smell after you finish the process.
6. Wipe the unit and wash removable parts
As the finishing touch, Wipe all the machine surfaces with a damp cloth. Don’t forget to wash all the removable parts and clean the exit needle and the k-cup holder for the best result. Now you can fill the tank with fresh clean water and use it as usual.
How to Clean or Descale a Keurig 2.0 with Vinegar
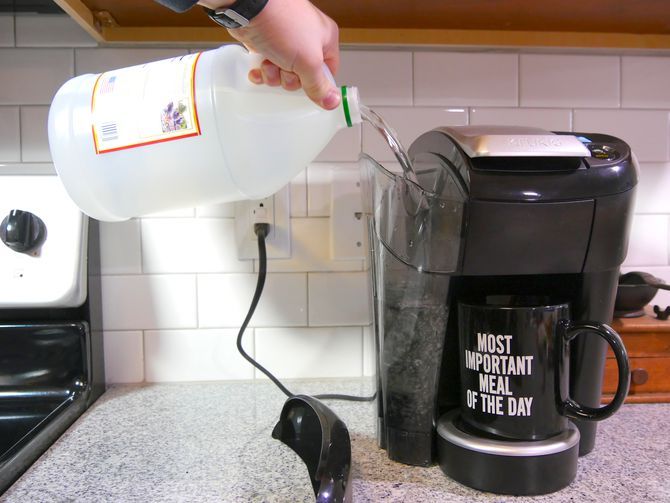
White distilled vinegar also can help you clean out any lime and scale buildup your coffee maker. The steps are the following:
- Fill the water reservoir halfway with vinegar and the rest of the way with water.
- Start the brew cycle without inserting the K-cup. Repeat the process until the reservoir is empty, don’t forget to throw out the mug contents after each brewing cycle.
- Rinse the reservoir with repeating the brew cycle process by only using plain water. It helps you to remove any residual vinegar taste.
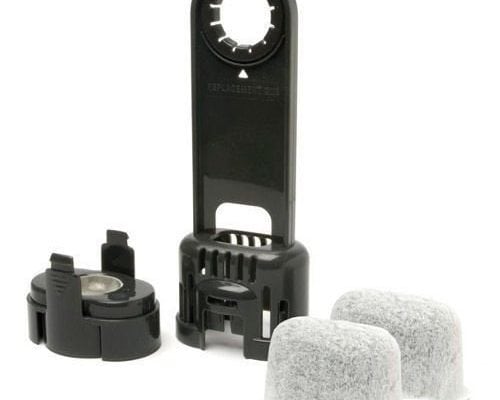
How to Change Water Filter in Keurig 2.0
Actually, the frequency of changing the charcoal water filter is not based on about two months. Of course, it can be faster than that especially if you have refilled the tank about 60 times.
Then how are the steps to change the filter? The followings are they:
- First, prepare the new charcoal water filter. Soak it in water for about five minutes then rinse it with running water for about one minute.
- Turn off and unplug the machine.
- Remove the filter holder from the reservoir.
- Open the cartridge holder then pick and discard the old filter.
- Rinse the mesh on the lower filter holder.
- Place the new water filter right in the filter holder and close the lower filter holder.
- Don’t forget to set a date for two months in the future.
- Assemble the filter holder in the reservoir again and push it down into place.